Turn your Pictures into Brushes
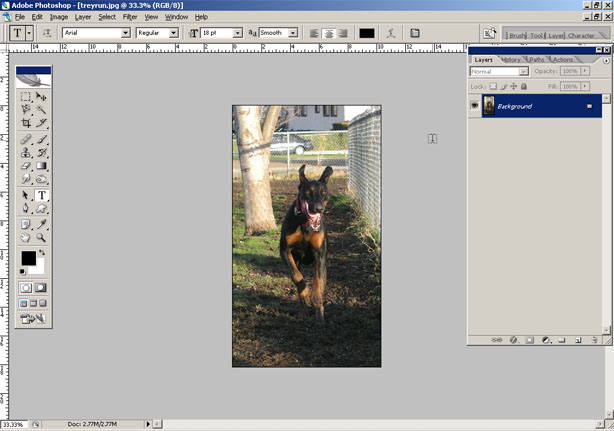
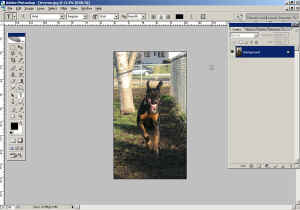
1. Start by opening the picture you would like to make into a brush.
Click on picture to enlarge
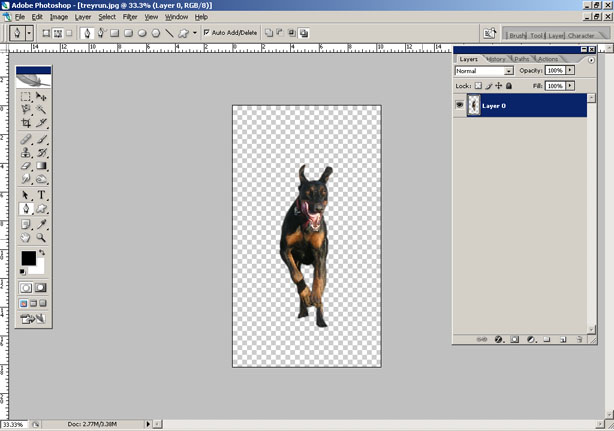
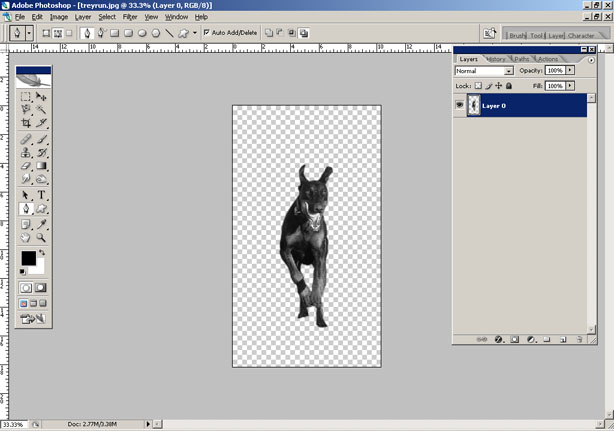
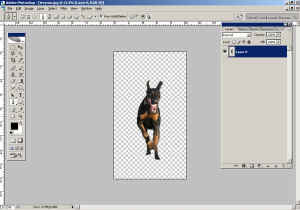
2. Crop away anything you don't in the brush. For my example I am going to use the pen tool to
crop away everything around the dog.
Click on picture to enlarge
3. I then prefer to Desaturate (Ctrl-Shift-U) the photo to give a better idea of what it will look like with just one color when it is a brush
Click on picture to enlarge

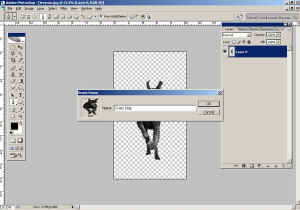
4. Select the image by either using the Marquee Tool (M) or hold down your Ctrl key and click on the thumbnail in your layer
Click on picture to enlarge

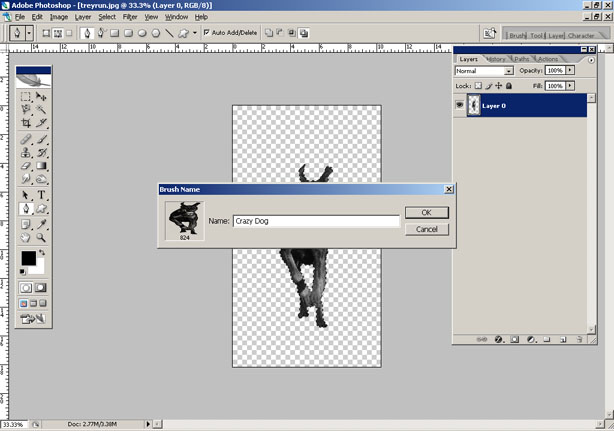
5. Then on your Edit menu go to Define Brush Preset. Photoshop will then prompt you to name your brush.
Click on picture to enlarge
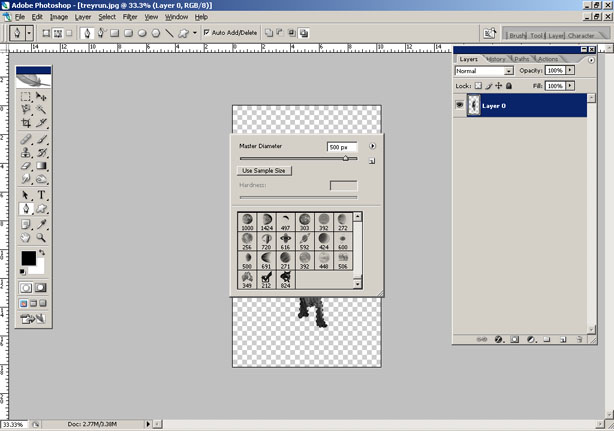
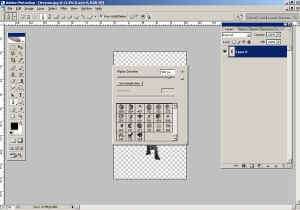
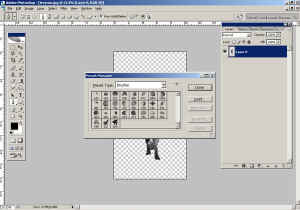
6. Now when you go to your brush palette, you will see the new brush listed last.
Click on picture to enlarge
CAUTION!!!
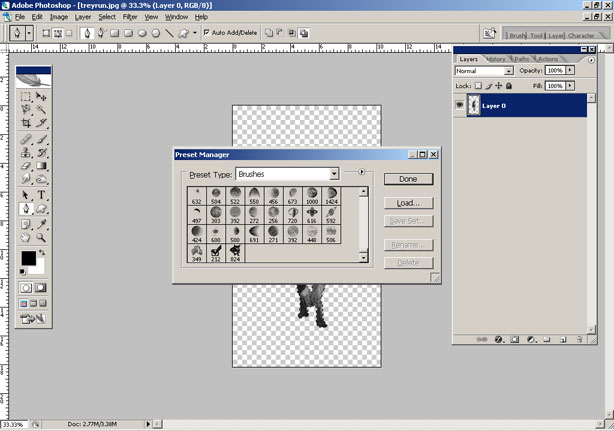
Photoshop does not save this to your default brushes, copy over your current brushes to another photoshop will not save this new brush.
So this means if your computer crashes and you install a new copy of photoshop even if you backed up your brushes folder it will not
be there. To ensure you have a copy saved go to your Presets Manager on the Edit menu, select the new brushes and save the set as a new name.
Click on picture to enlarge
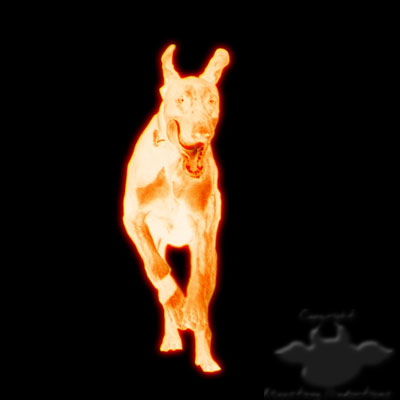
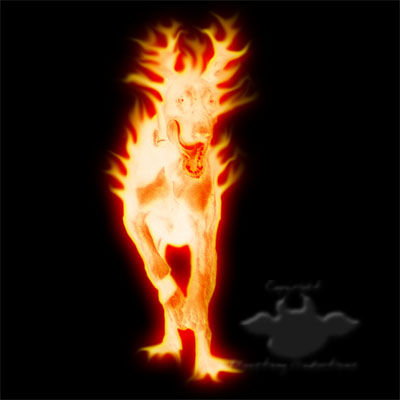
Extra Credit!!!
Use your new brush on your fire template and create a
flaming picture!